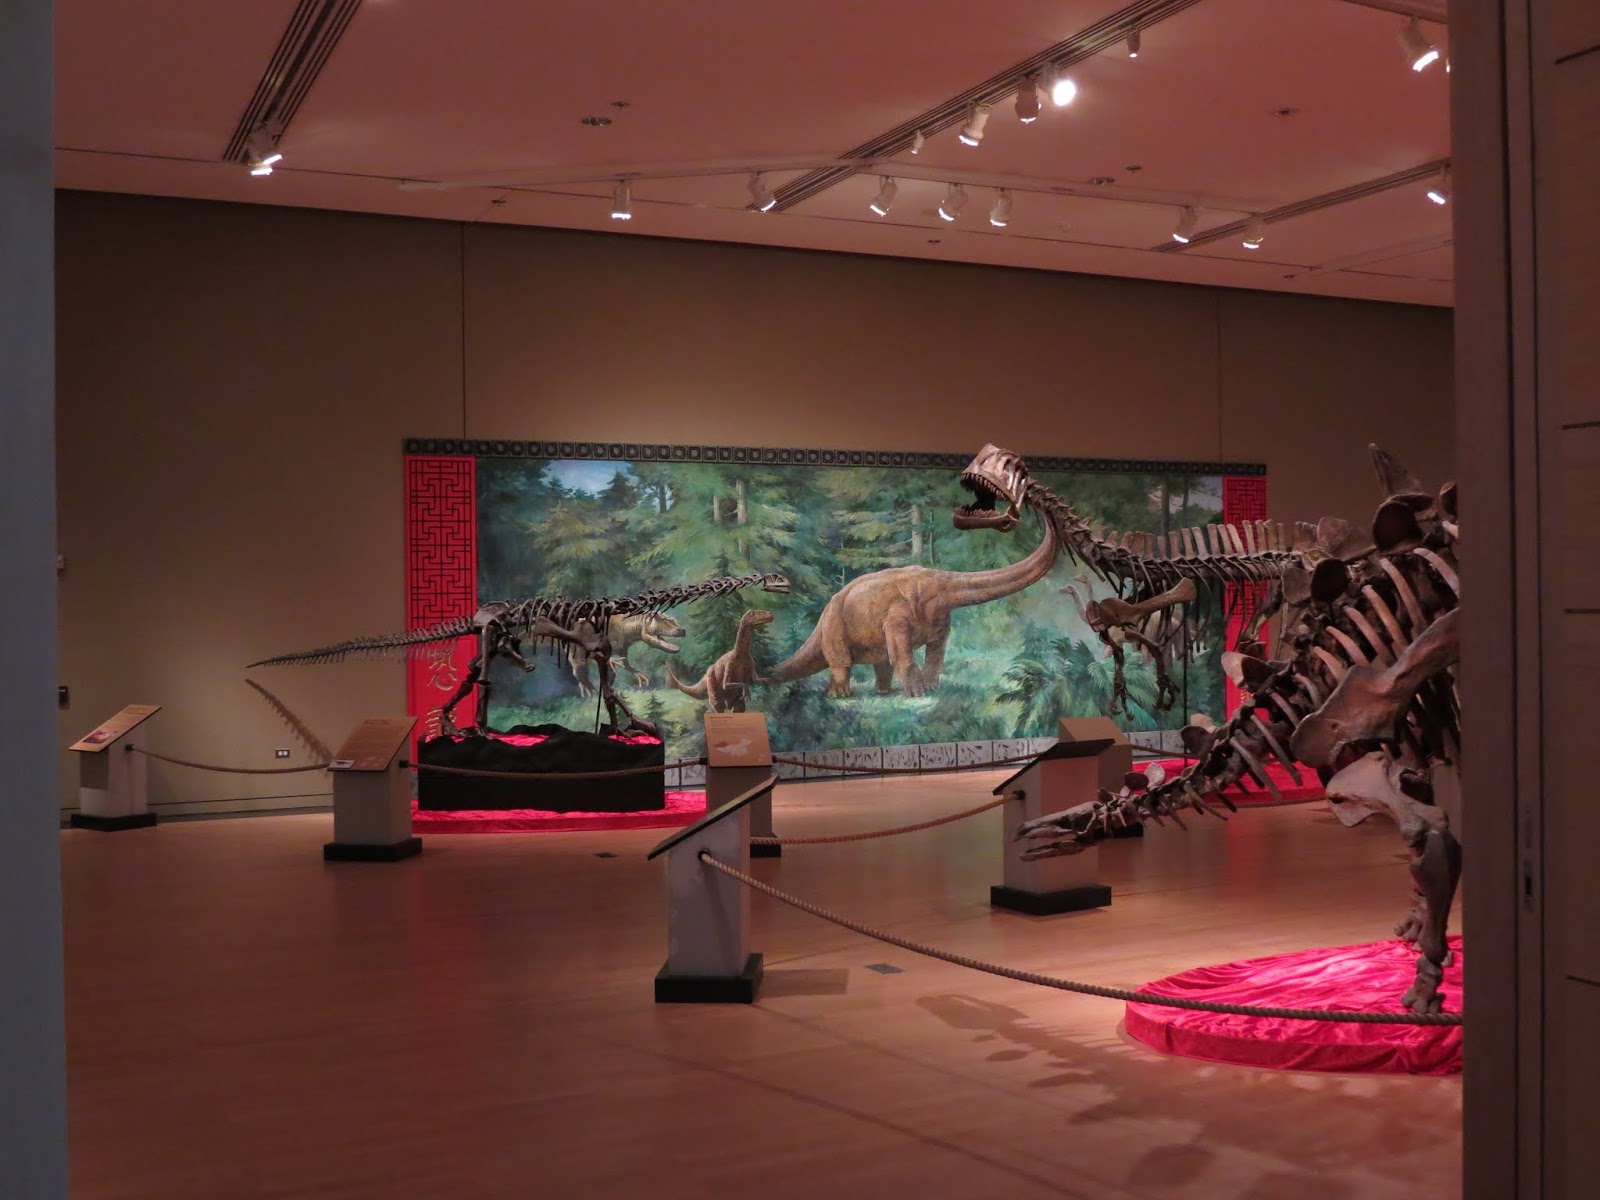
During the installation of the traveling exhibit
Chinasaurs! it became evident that while them supplied murals were beautiful they were going to need something to punch them up a bit. They were 10' x 30', hand-painted on canvas. The edges were showing wear from years of being stapled to gallery walls, and no matter how much we misted and stretched the canvas they would still hang like drapery in some areas. Not only that but the color values used in the paintings were very close to that of the gallery walls. After a laborious installation, it looked like - well, it looked like we had stapled some stuff up in the wall.
Since we had yet to figure out how we were to hide the bases to the specimens, we decided that we could make the walls and the floor work together. In less than a week.

We decided to embrace contrast and use a traditional look of red-lacquer, gilding, and stone-work. For our materials we chose blue foam for its low-cost and ease of machining. We worked with a student to make sure that we were in fact using the correct symbols for "dinosaur" that could be V-carved into the base units. After choosing a red crushed velvet to drape the bases we were able to have a matching latex paint mixed. We first painted the milled-out areas with black acrylic painting using a brush, then the red latex was applied to the top surface using a short-nap roller. The bad news was that the gold paint for the gilded characters ate aggressively into the blue foam. This was abated by using the CNC to cut a stencil for the characters. While the interior of the characters was somewhat dissolved, the use of the stencil allowed us to maintain a sharp exterior line.

We used the way the spray paint dissolved the foam to our advantage. To make the "stonework" appear weathered, we used a cheap black spray to in-paint the low areas in an expressionistic fashion. This transformed each of the sharp, uniformly machined squares into something soft and unique. A light touch to the top surface with a roller and the look was complete.
There were several maps in the exhibit that also needed artistic treatment to make them pop off the wall. This was achieved by V-carving some corner details in ABS.
With some work and a few hundred dollars worth of materials, we were able to transform and exhibit that was looking rather drab into something colorful and exotic. To those who would stick their head in the door from time to time to check our progress, the transformation was nothing short of a miracle.


